Showing posts with label 3rd grade. Show all posts
Showing posts with label 3rd grade. Show all posts
Sunday, December 13, 2015


Sunday, October 18, 2015
3rd grade name monsters!
As part of the Monster Mania going on at Evans, some third grade classes are making their own personal monsters inspired by their names! We started off by Folding a Piece of paper, Writing our name large along the fold and then drawing a Contour line around our name- When we cut around that line and unfold the paper you get a funky monster shape! You should have heard the Ooos and Ahhhs going around the room as students looked at their papers and imagined the monsters they would soon create!


The students got right to work drawing lines inside their monsters. We looked at visuals to get inspiration for our monster eyes, mouths and other body parts.

The students outlined all of their pencil lines with sharpie to prepare for our watercolor resist painting next week!


Wednesday, December 11, 2013
Snow Birds


Sunday, December 16, 2012
Reflective City Scenes
During this lesson my third grade students explored warm vs. cool colors in their watercolor painting backgrounds. I gathered the students around my demo table to show them how to blend colors without puddles of water or dry brushstrokes everywhere. I had the students fold their paper in half first to establish their horizon line.

Friday, December 14, 2012
Snowflake Snowmen


This year the Third Grade Winter Concert was titled, Snow Day so in spirit, I decided to have the third graders design Snowmen out of Snowflakes!

The first step was designing the backgrounds. For inspiration, I read the students the book Snow Bear then the students began to draw on white paper with white crayon. I encouraged the students to press hard and color anything they wanted to be white.
Next we did a watercolor resist by painting Cool Colors over the entire paper and voila! Their snowy scenes appeared! (some more than others!)

Wednesday, November 7, 2012
Defying Gravity
This year School 2's 3rd Graders are going to DEFY GRAVITY!

I started out the students with an OuterSpace PowerPoint. The students were really into space and had a ton to say about it!
The students then got their papers and were told to draw five circles with oil pastels- some big, some small, some off the edge of the paper etc. These would become their planets.
 While looking at the planets, we all decided that no planet was just one color so the students were encouraged to blend the oil pastels and use multiple colors in all the planets. Some students added rings for Saturn. The students painted black watercolor over their paper and I came around and sprayed blue and violet liquid watercolor onto their papers (because even space isn't just black)
 The following week I read the students a book about space and then the students drew their rockets. I made up a step by step space ship drawing guide for the students that were less confident. I stressed that the spaceship is made up of simple shapes such as ovals and triangles so if you can draw them, you can draw a spaceship. While the students were drawing I called a few students at a time to the back table to paint glitter onto their background. This would represent far off stars.
The students used watercolor pencils to color in their rockets. Using the projector we compared realistic rockets to cartoon rockets. The difference was the shading. I demonstrated to the students some shading techniques.
Saturday, May 14, 2011
"The Scream"
For my third graders, I wanted to do a lesson using the shaving cream marbling effect. Yes, Shaving Cream in Art! When I came across a transparency of Edvard Munch's "The Scream" a lightbulb went off! The swirls in the sky are perfect for the shaving cream marbling!
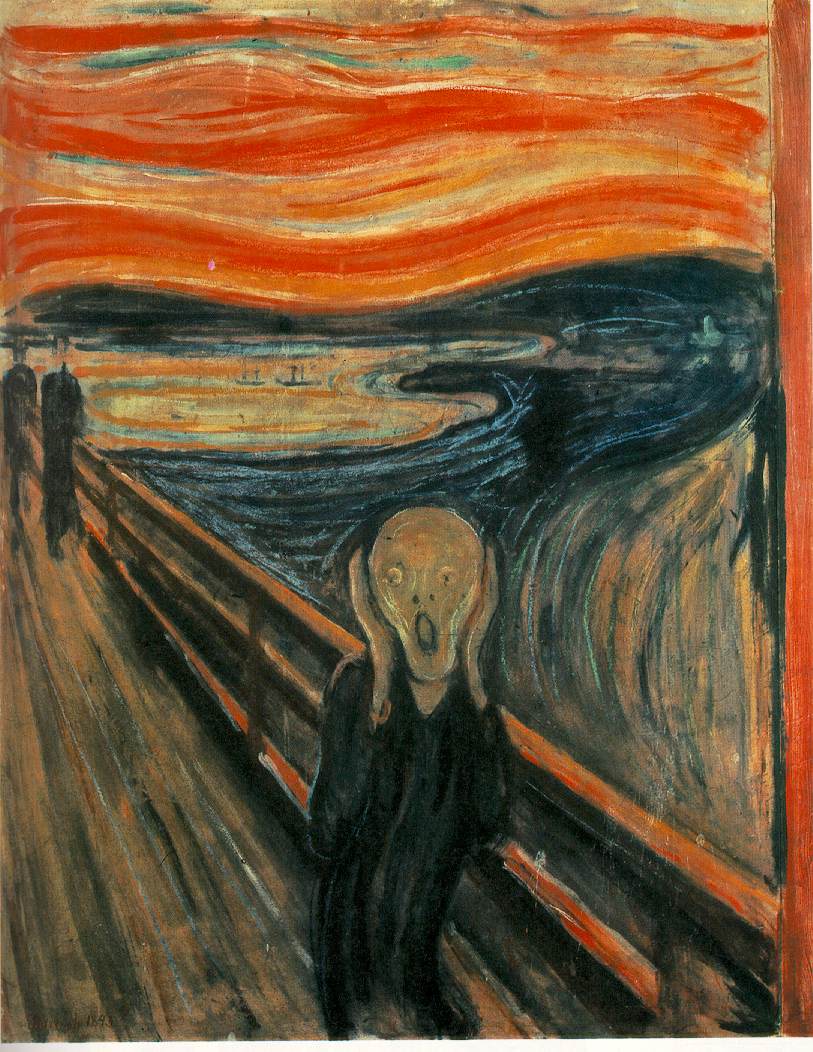


The students loved all of the lines in the painting and really wanted to know what the man was looking at that made him so scared. I asked them how they knew he was scared and not happy or sad or nervous. The students and I talked about Expressionism and then I had them write a Descriptive paragraph about what they think the man saw. I challenged them to use as many adjectives or "describing words" as possible- This is important because they will later be making these creatures out of model magic. The goal is for the students to make the other half of this picture.
The next step was the Shaving Cream Marbling because this will be their background. This is a great technique that can be incorporated into all different projects. What you need is
- Acrylic Paint (I use the little tubes of acrylic craft paint from AC Moore- Can usually be found on a good sale!)
-Shaving Cream
-Cardboard box lids.. ideally one for each student
- Pieces of cardboard cut up into squares
-Sink/Paper Towels for clean up
-Smocks
- Plastic Knives
-Plastic Forks
I did not have enough supplies for each student to do this at their desk, plus I like to contain the chaos/mess to one controlled area. While the students were doing their writing I called up four students at a time where I assisted them with their Shaving Cream.
1- Write name on paper
2- Flip over and lay flat inside cardboard box lid
3- Squirt out shaving cream and smooth flat with the knife, almost like icing a cake
4- Squirt chosen colors of paint I remind the students that they do not want Mud, so they need to plan their colors. They do sky colors near the top and water colors near the bottom.
5- With the forks or knives, swirl the paint and shaving cream making designs and patterns.
6- With the Cardboard squares, Wipe off all of the shaving cream, The shaving cream should come off, but the Paint should be left on the paper in the swirly designs that were made with the fork.


Next, the students began to make their creatures out of model magic. We talked about how to mix the colors to make new colors and how to roll or cut the clay to make different shapes. The students loved doing this!
Friday, April 29, 2011
Color Wheel Flowers


It was time for The third graders to learn about Color Theory. Instead of just making a typical circular color wheel, I wanted the students to make a Color wheel that would turn into a beautiful picture. So we went with Flowers!

Color Mixing Quiz
Friday, April 8, 2011
Endangered Animals
Every child has some sort of collection growing up and mine was Panda Bears.. I was obsessive about it! My collection resulted both in me having over a thousand Pandas AND a huge awareness for endangered animals. So any chance I get to do a project involving Panda Bears or anything involving Endangered Animals, I go for it!


Tuesday, March 1, 2011
There's A Wocket in My Pocket
I LOVE Dr. Seuss! So Read Across America Month is the perfect excuse to do a ton of Dr. Seuss inspired art lessons! This year I read There's a Wocket in My Pocket to my Special Education 3/4th grade class. We had a few laughs as we read the book and then while we were still on the carpet, I split the students into pairs and gave them some magazines. I explained that they each needed to find a magazine picture of an object... such as a pocket, glass, couch, house etc. and rip it out, NICELY. We would be creating our own creatures to live in those objects!


The students were sent back to their seats to write their rhyming sentences. There was only one rule- The rhyming word had to be silly!! "There's a mouse in my house" just would not do! "There's a Touse dancing on top of my house" was perfectly acceptable though!

Students were encouraged to be as creative as possible! The students were to sketch their new imaginary creatures. When sketches were approved, the students painted them with watercolor and then outlined with black permanent marker. The objects were glued onto their magazine backgrounds.
Monday, February 21, 2011
African Masks
I have a special education class where the kids range from 8-11 and have an array of disabilities which makes for quite a challenge. This lesson interested all of them and the older kids were able to help the younger. I altered this lesson by making a bunch of different shaped masks the students could choose from and trace. Depending on the ability of your class, the kids could draw their own to create more variety of masks.

I showed them a PowerPoint Presentation showing them all different styles of African Masks I pointed out the different shapes, animal qualities, and designs that the masks had.
Saturday, February 5, 2011


Friday, January 21, 2011
100 Days of School!
 To Celebrate the 100th day of School, I had my third graders do a Group Project. I'm always a little apprehensive about group projects because there's more of a chance of mess and high volume but I was extremely impressed with my third grade class!
I had the students split into groups of four and then delivered a tray filled with 100 items to each table. I explained to the students that they would be doing a collage and the only rule was that all 100 items had to be included in some way.

The students were given markers, scissors, glue and tape and were told to get to work!!
Subscribe to:
Posts (Atom)